Aquaponics Project, part III, Misc Framing
Here, I'm attatching the boxes to the frame, and adding a little extra wood framing to connect the two metal frames and garden beds together.
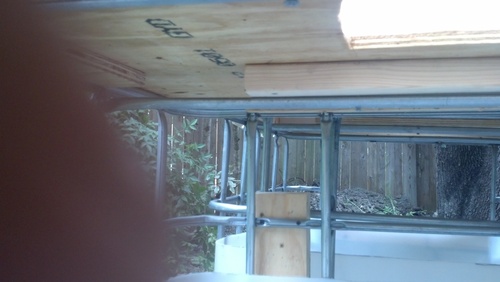
I attatched some cleats made of scrap plywood strips to the bottom of the beds. Those sit just inside the top of the metal frame to keep the beds from sliding around. On the lower bed (without the 2x4 riser underneath), I attatched two 2x4 braces to the underside of the bed. They rest on the struts on the top of the metal frame. Screws through the metal pipe into the wood hold the bed in place. (the beds dont need to have too much tying them to the frame, as their weight will keep them in place) (Apologies for the lousy picture, I got my thumb in the shot):
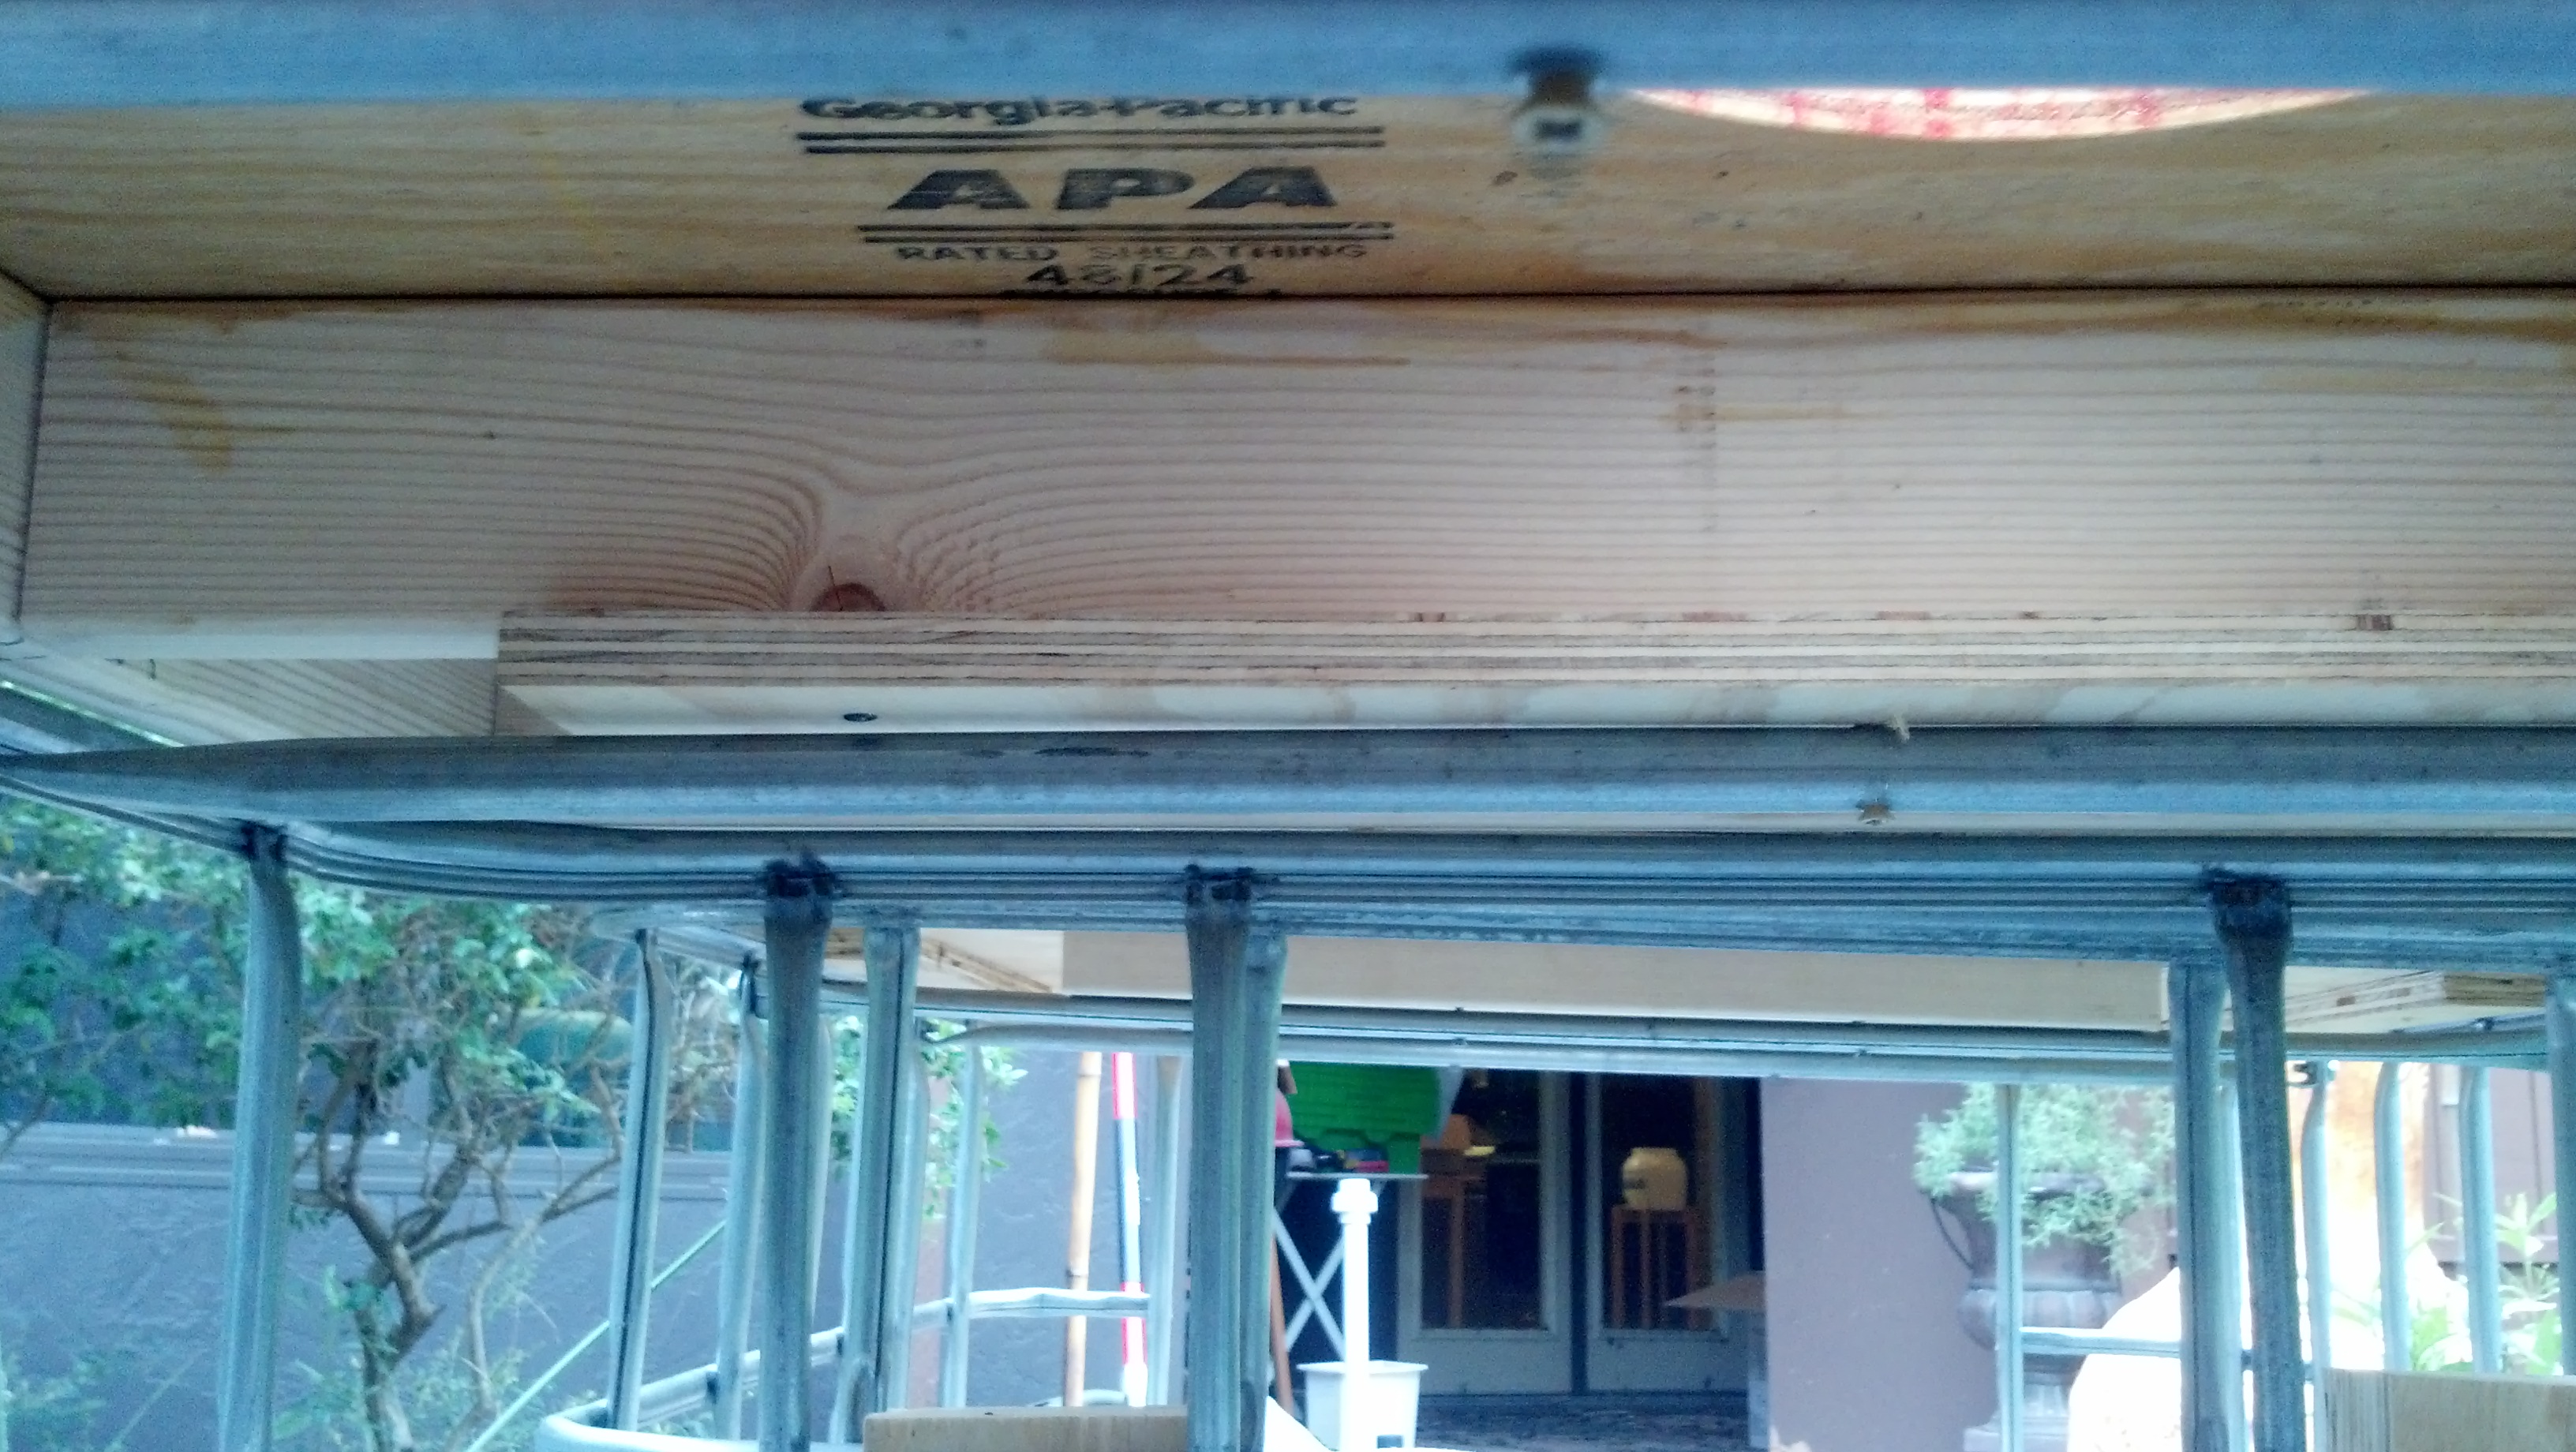
For the other bed, I did the same with a plywood strip

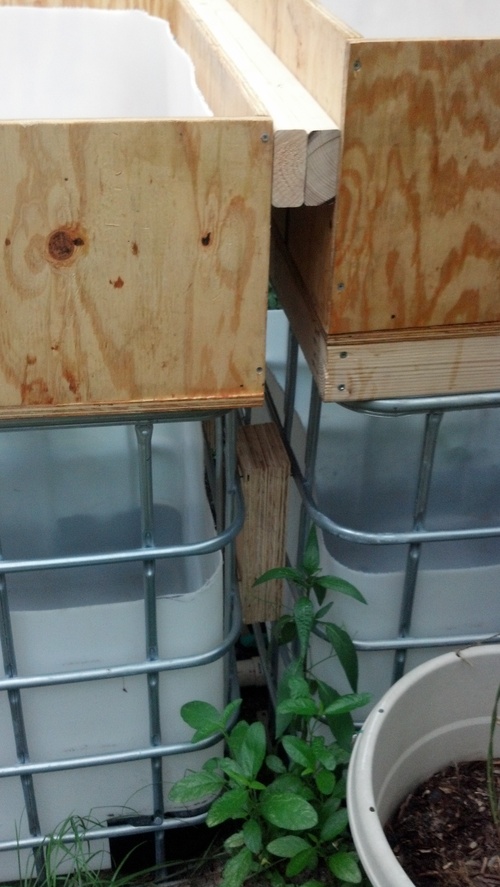
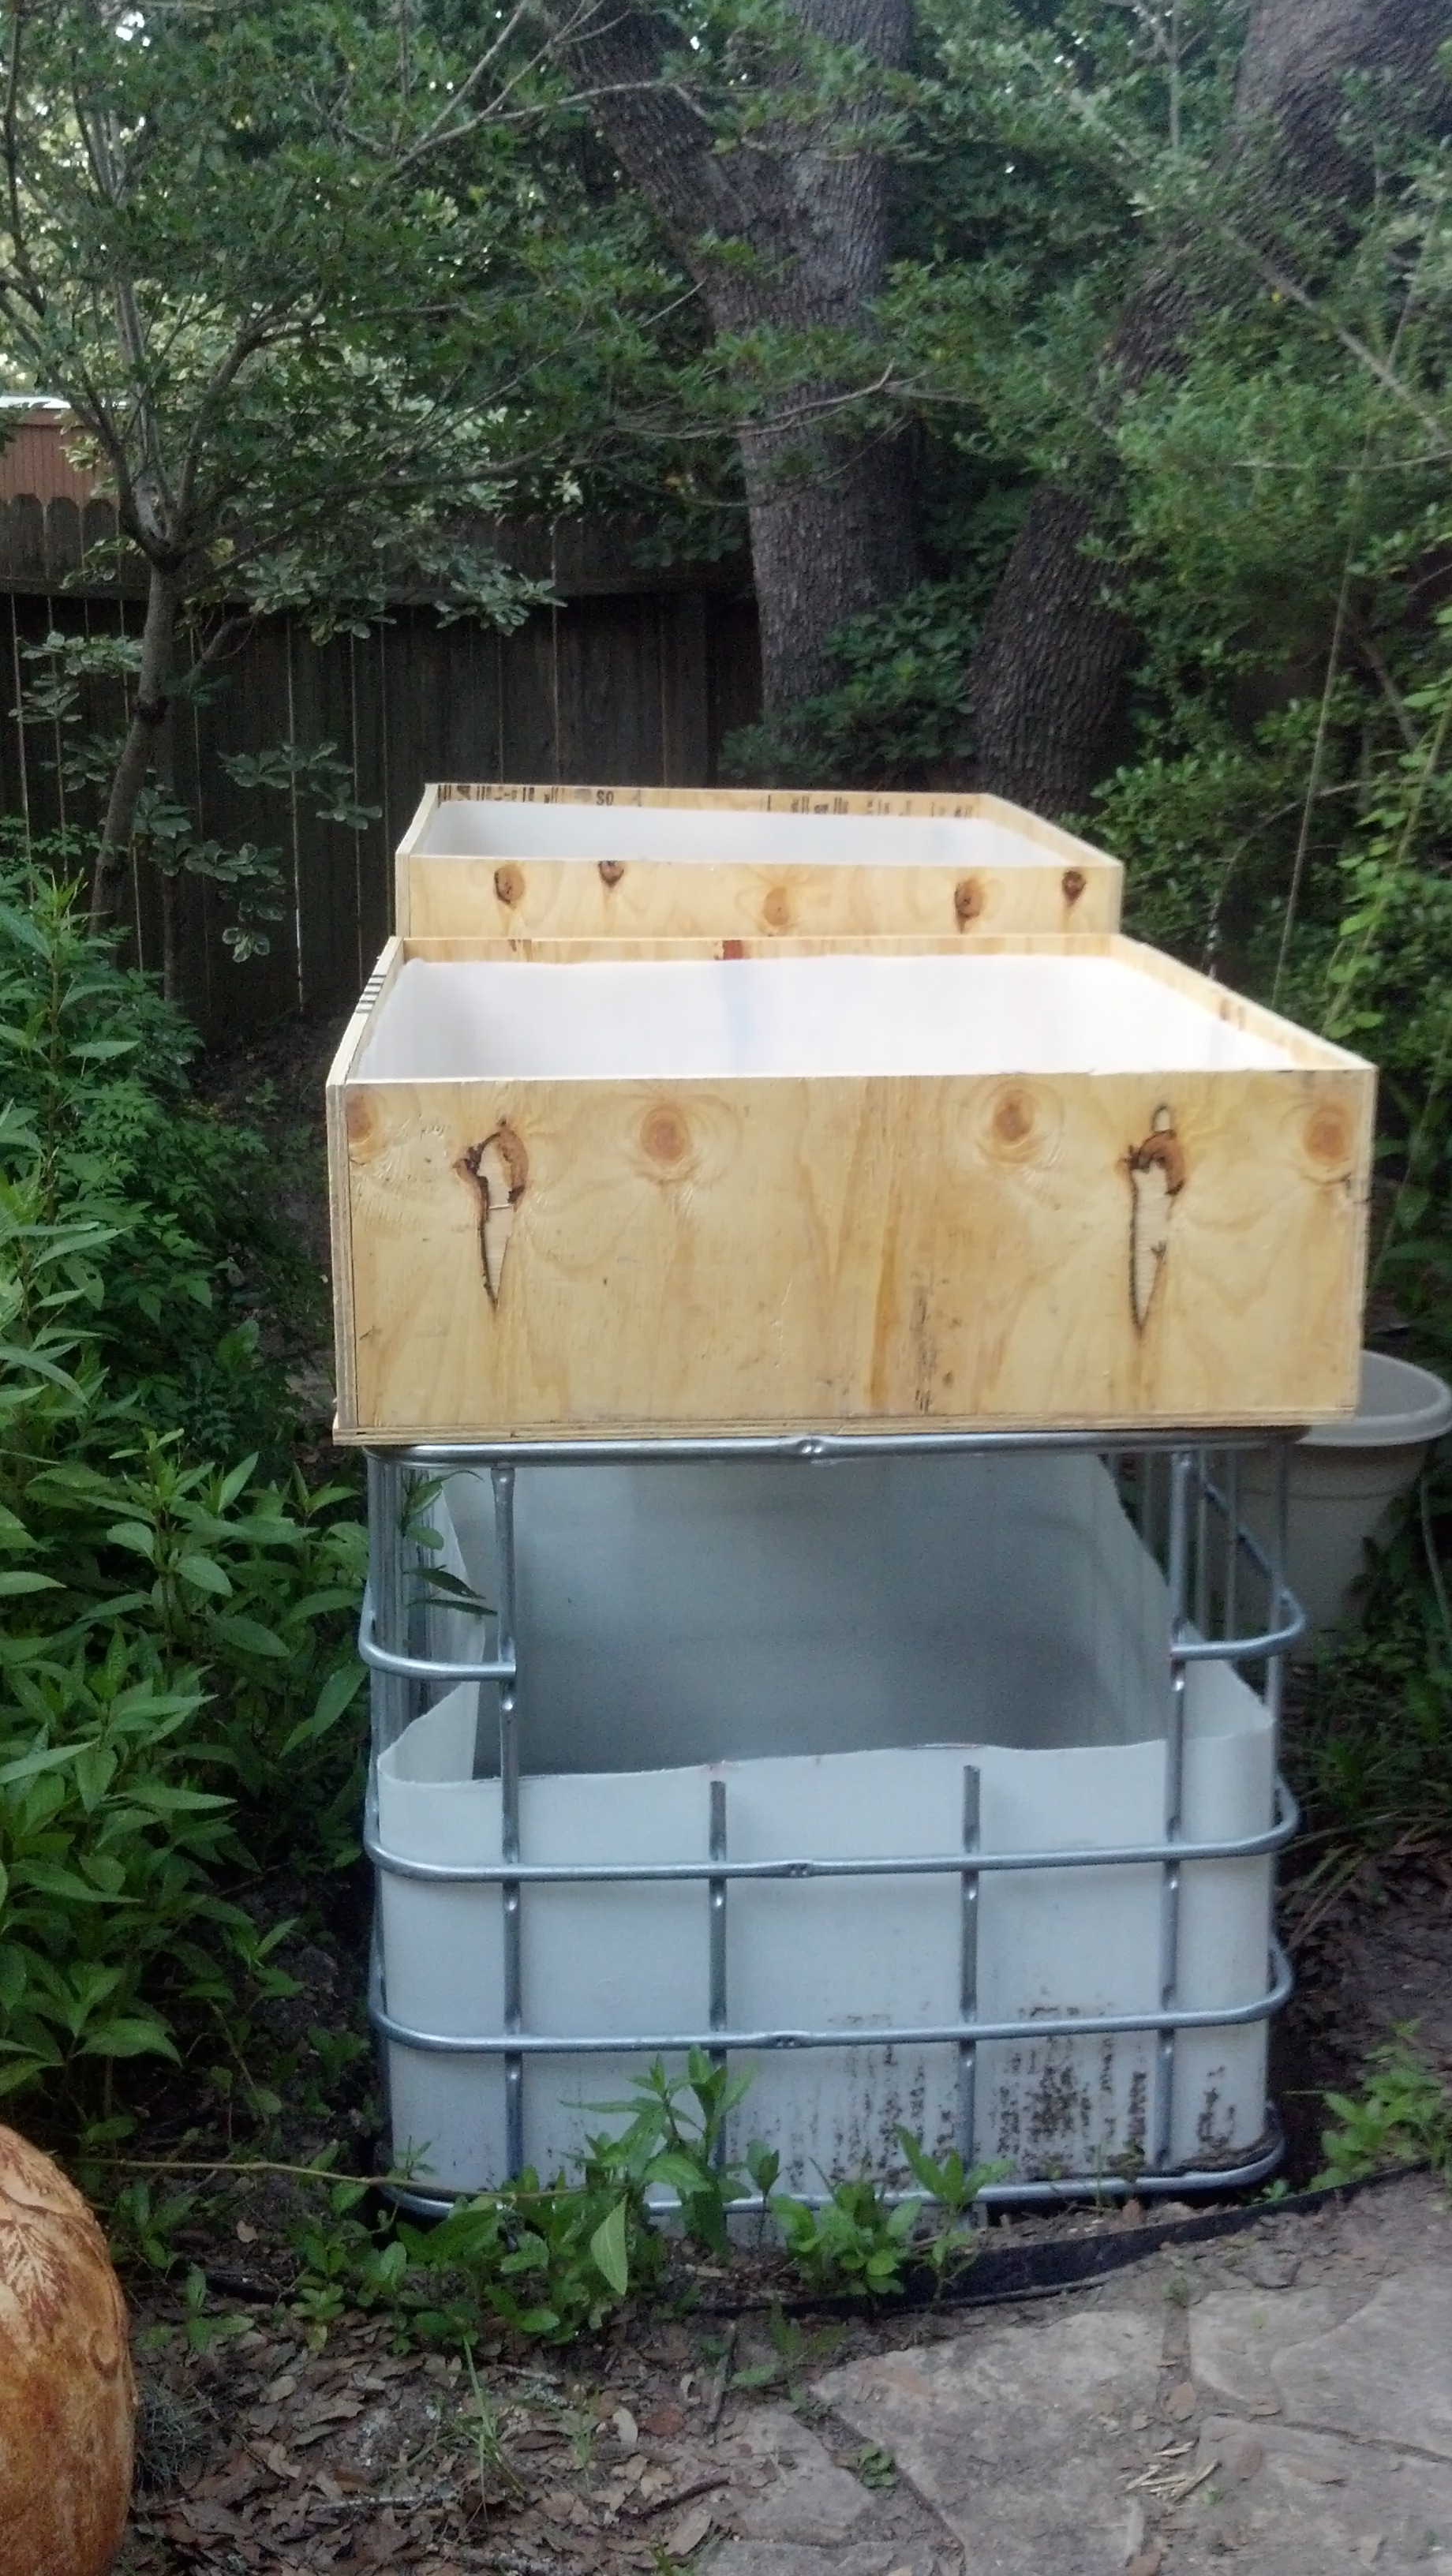
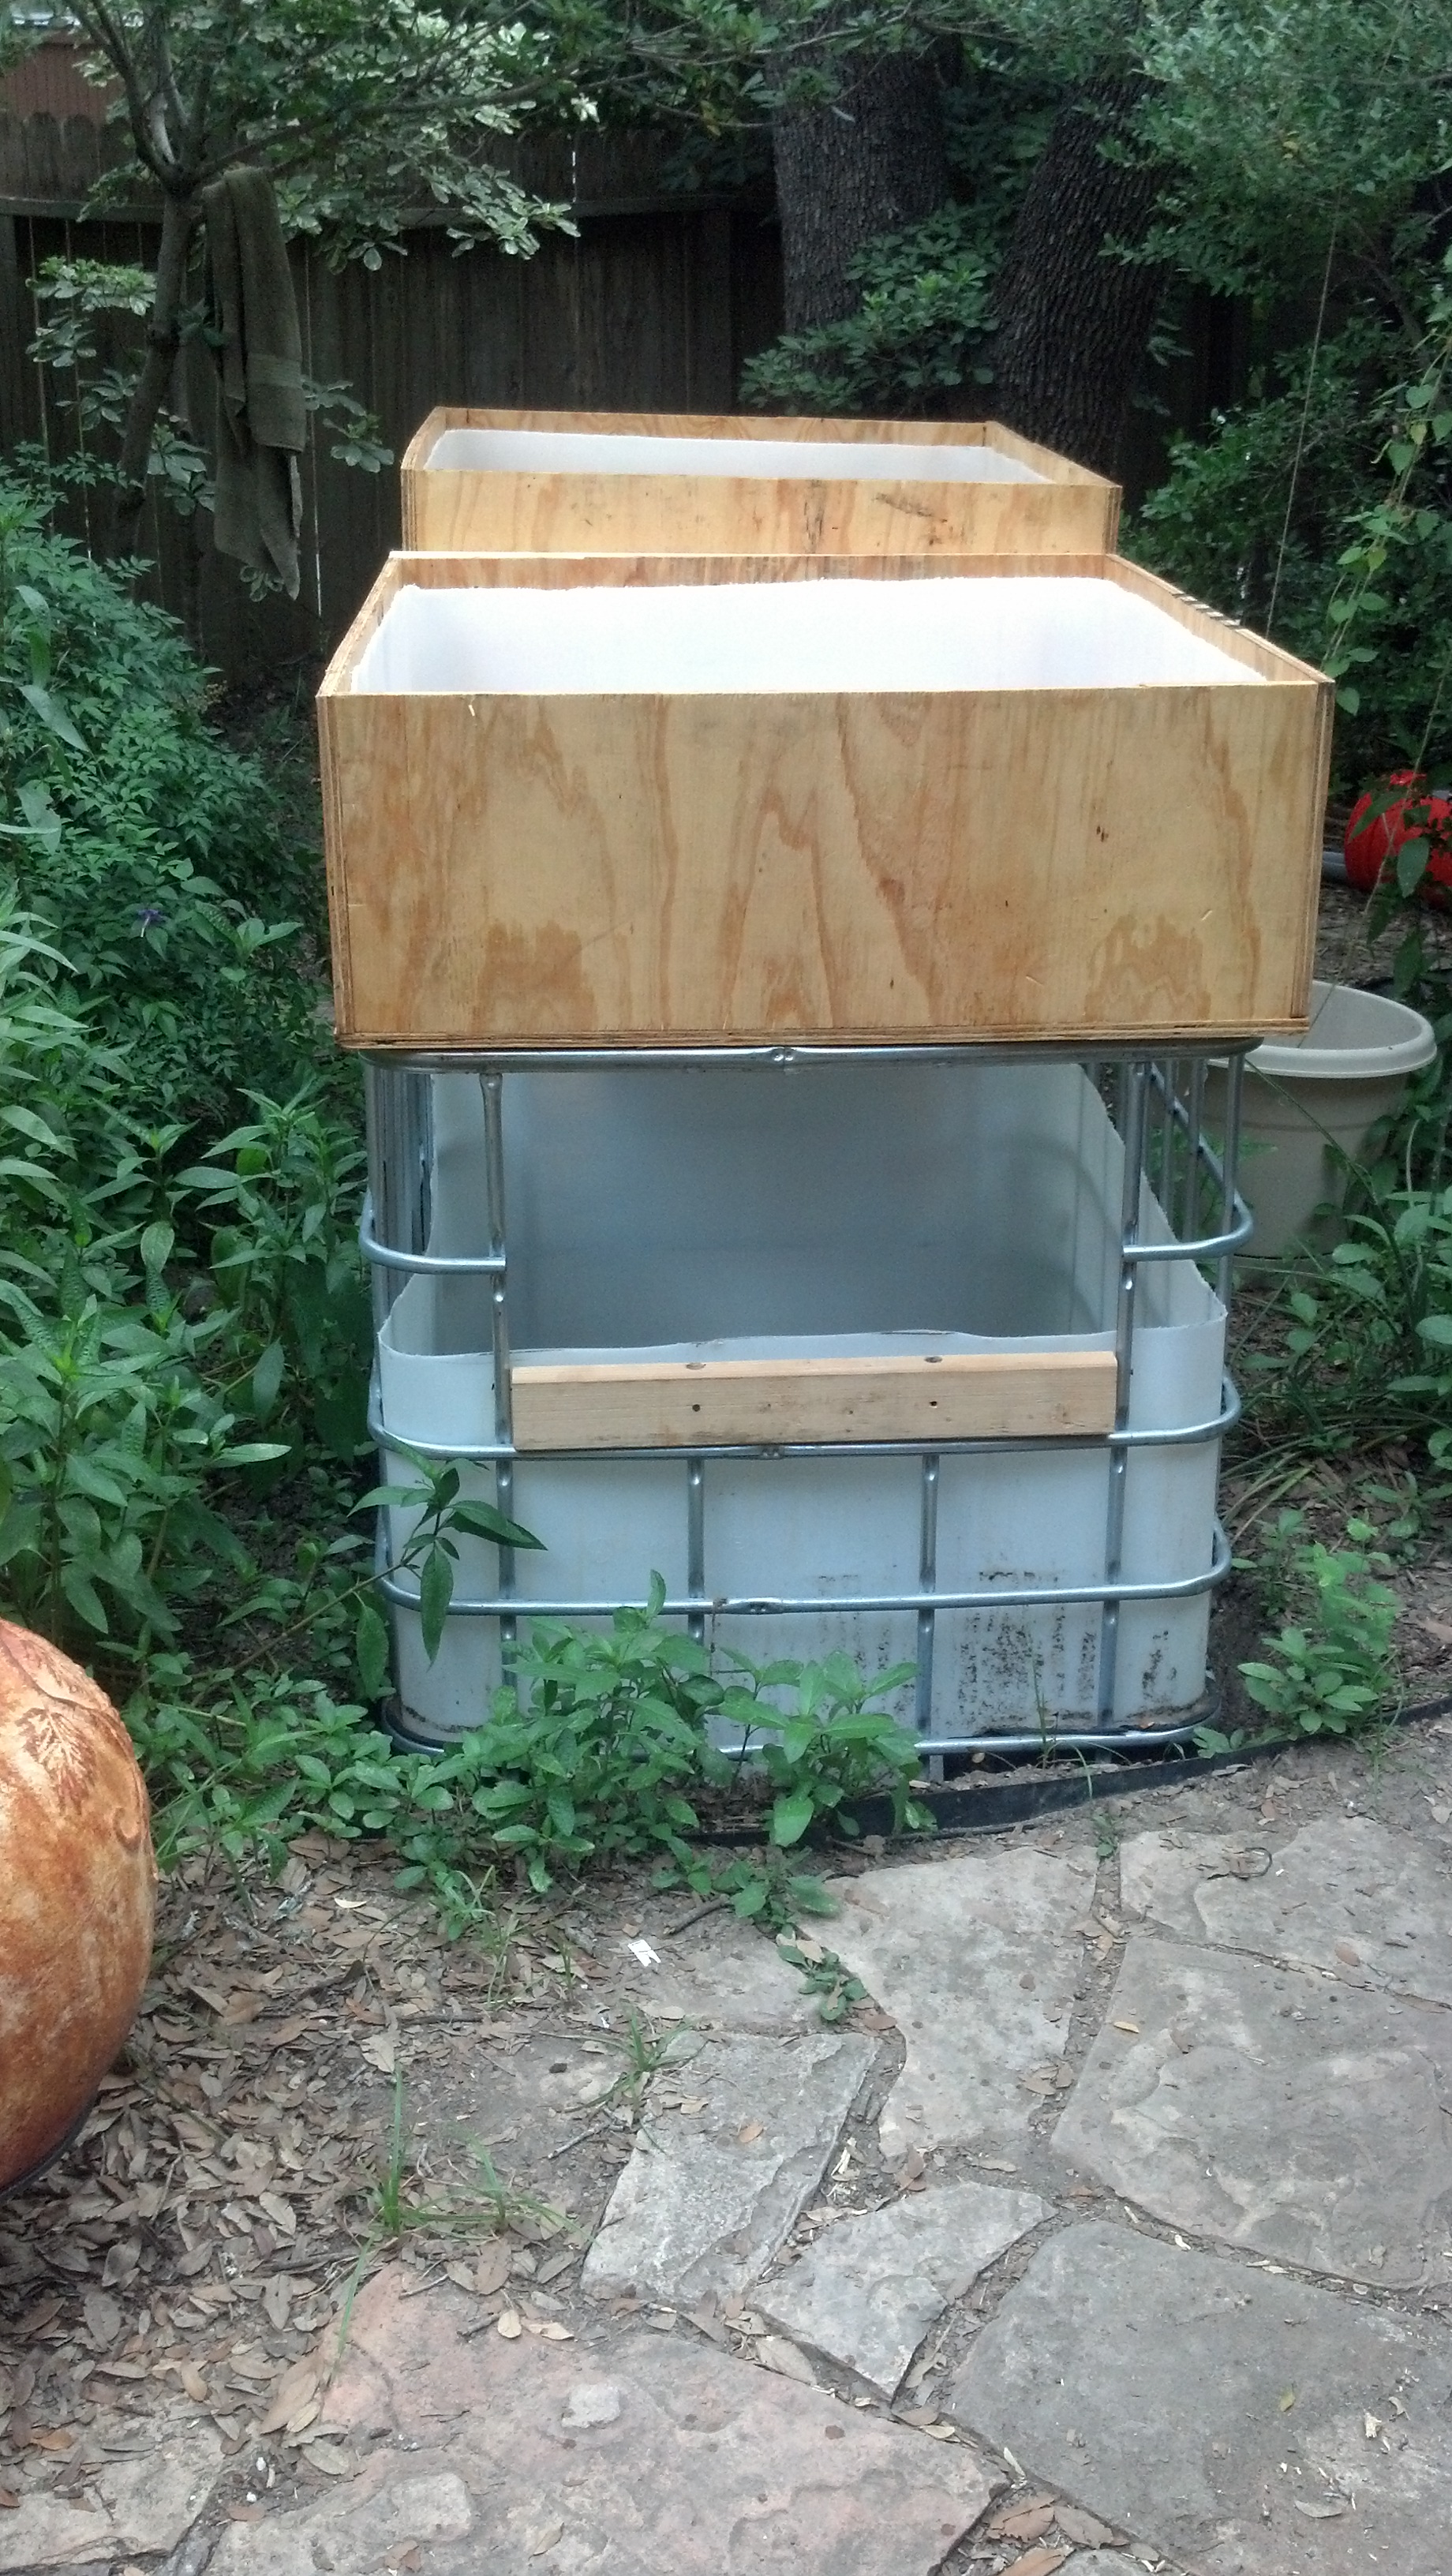
Now that the beds are in place, I want to tie the two frames and the two beds together structurally, so they don't shift and put strain on the pipes connecting the two fishtanks together. To connect the frames, I created two plates (about 24" x 12") from 4 layers of 3/4" plywood, and screwed them in place to the two frames. Similarly, a spacer made from two 2x4's connects the two garden beds together:
Finally, my design calls for a door in each end of the setup so I can access the fishtanks easily. This door will be hinged at the bottom, and also, I know, that given the design, I will probably lean on the bottom of the door opening as I am reaching in to feed the fish, adjust valves, etc. So, there needs to be a strong sill on the bottom of the door opening for the hinges to attatch to, and to support me leaning on it while reaching in. In one of the pictures from my previous post, you can see where I cut the opening in the metal frame for the door. (There is a similar opening on the other end, too.) I deliberately did not cut the top rail of the frame, or the struts on the corners, so as not to weaken the frame too much. In the picture, you can see that I left roughly 3 inch long stubs of the cut off vertical struts sticking up at the bottom. To make the sill, I simply bored two 3/4" holes in a 26 inch length of 2x4, and slipped it over the stubs of the struts. Screws through the sill and struts hold it in place, and it rests on the horizontal strut beneath. The other side was done the same way. The result is quite strong:

Next up: Plumbing.